Hosting your Bot using Heroku
Heroku is a cloud platform as a service that supports several programming languages and that allows you to host some of your projects.
WARNING
Hosting your bot on Heroku does not ensure a 100% uptime.
If you do not have a credit card linked to your Heroku account, your bot will not be online every day.
- Create and account on Herokuopen in new window or log in if you already have one.
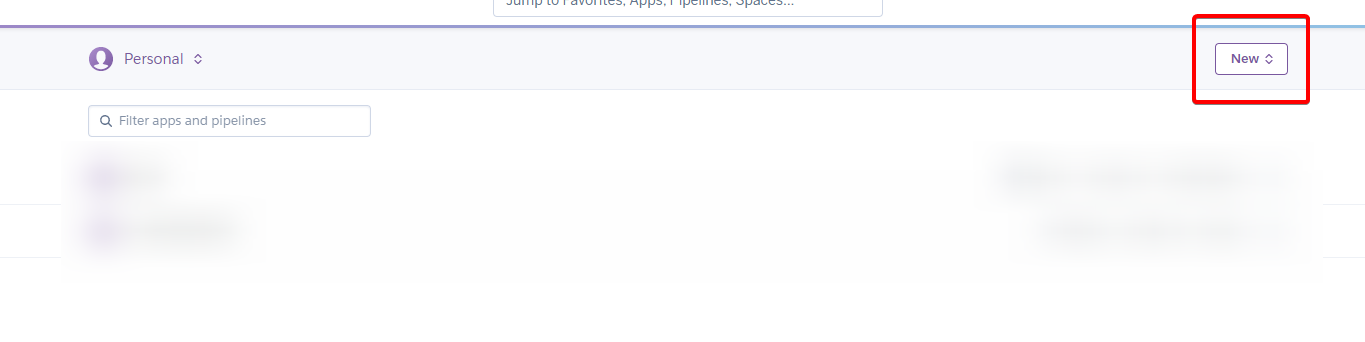
- Click on New and then on Create new app.
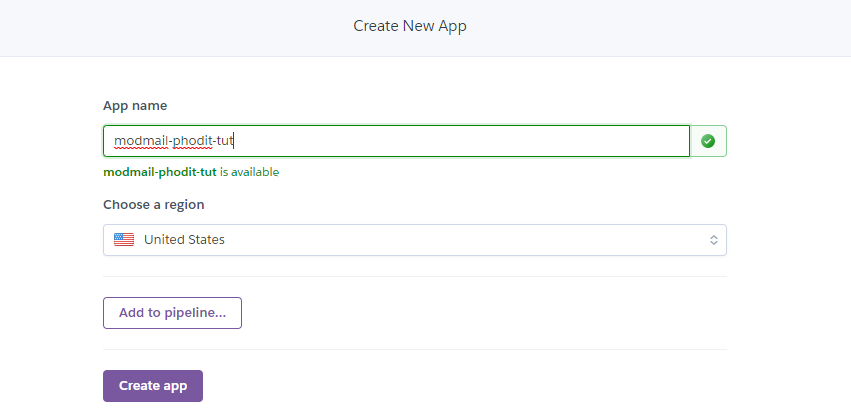
- Select a name for your app, the location that fits the best for you, and create the app.
- Once in the dashboard, select GitHub.

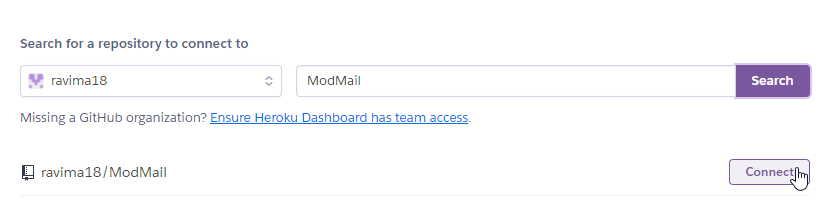
- Look for ModMail (your fork should appear) and click on Connect.
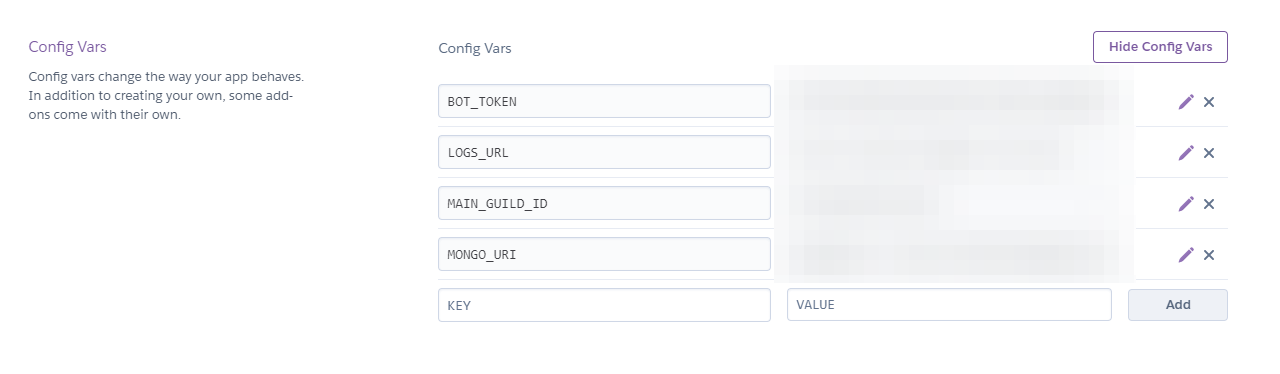
- Go to the Settings tab and look for the Config Vars section.
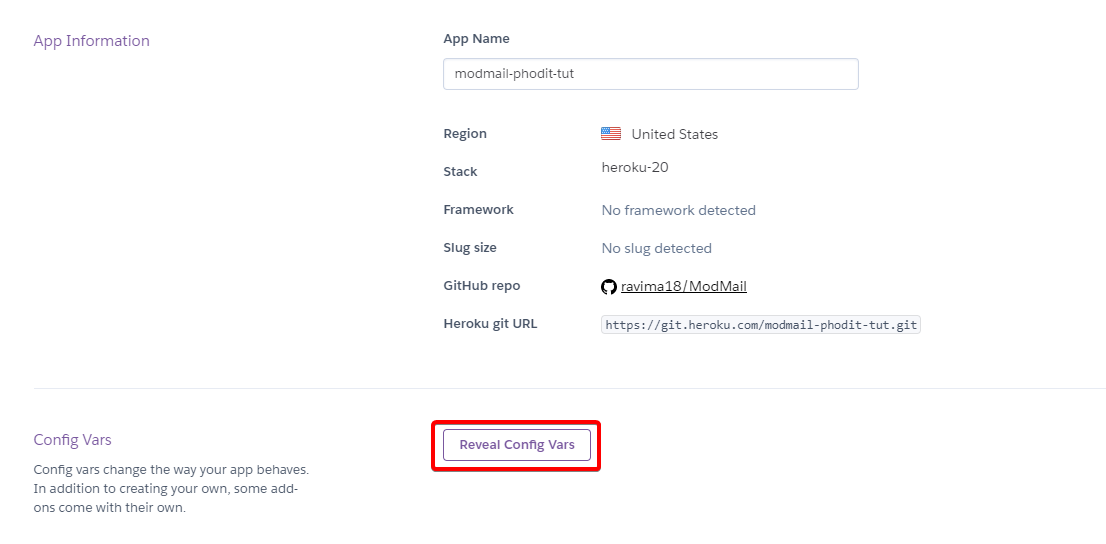
- Add the following variables with their corresponding values.
- BOT_TOKEN: your Discord Bot Token. You can find it in the Bot Tab of the Discord's Developer Portalopen in new window.
- MAIN_GUILD_ID: the ID of the server where the treads will be opened. If you do not know how to get an ID, check this guideopen in new window.
- MONGO_URI: the mongo URL you copied with the password replaced.
- LOGS_URL: the URL where your logs will be hosted (make sure it ends in
/). If you are not using any logs, just delete the line.
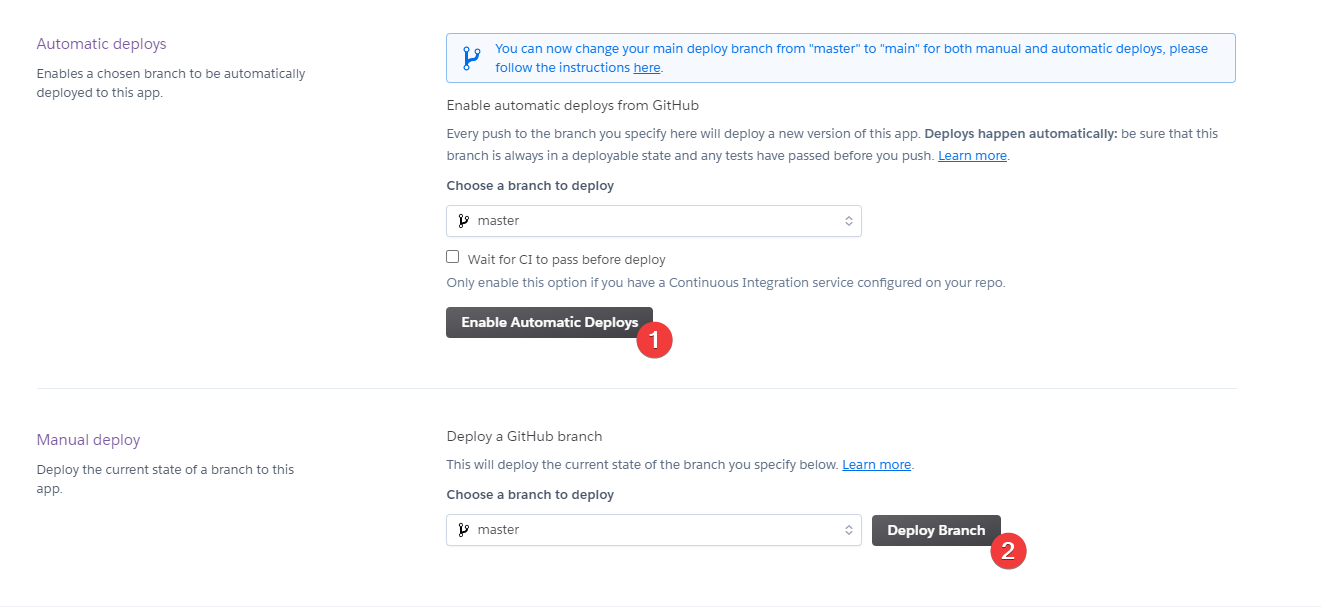
- Go to the Deploy tab and click on Enable Automatic Deploys. When it loads, click on Deploy Branch and wait for it to finish.
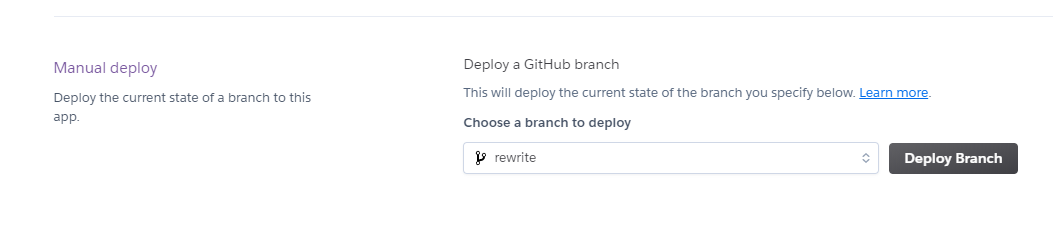
- Go to the Resouces tab. There disable the
webdyno and enable theworkerone.

- Get back to the Deploy tab and click on Deploy Branch again.
Once done, go to any channel on your server and run the command: +setup.
You are Done!
Your bot is now hosted on Heroku and it should appear online in your server.
Please, remember the site limitations mentioned previously.